

Replacing A 1962 Mercury Master Cylinder
By John Gunnell
Photos by Linda Clark
John Gunnell demonstrates through these 12 photos, how to replace the 1962 Mercury master cyclinder that he located at B.S. Wisniewski (Wizzy’s) auto parts store.
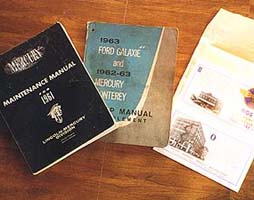
1 – Shop manual and supplement are big help. After six months, master cyclinder was found at Wizzy’s in Milwaukee, Wisconsin. It came complete with an invoice, return policy and company history.

2 – Although the first two steps in shop manual were confusing, it was easy to start by disconnecting brake line from brass fitting on master cylinder using 3/8-inch wrench to back off the flare nut.
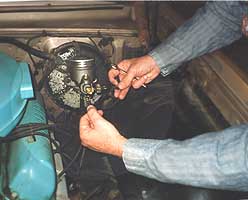
3 – Move brake line away from front of brass fitting on front of old master cylinder. Disconnect tow electrical wires attached to the stop-light switch on the left-hand side of the brass fitting.
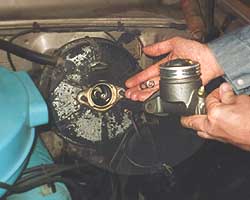
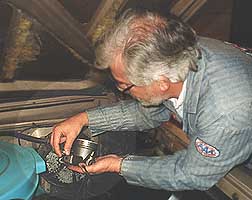
4 – Remove old master cylinder. Leave brass fitting and stop-light switch attached. We tried to remove it on the car and broke a piece off of the brass fitting. save the nuts and washer for the master cylinder.
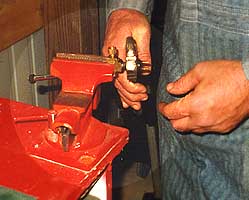
5 – Clamp master cylinder in vise and remove brass fitting. Put brass fitting in vise and remove stop-light switch with Vise-Grips. Luckily, NAPA store found a fitting to replace the broken one.
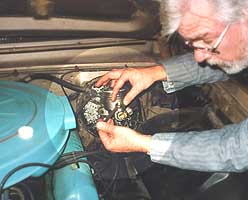
6 – Move the new master cylinder into place over the rod that protrudes from the vacuum booster. Using the washers and nuts you saved in step 4, fasten master cylinder to firewall.
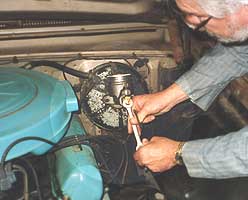
7 – Thread stop-light switch into side of brass fitting. Thread brass fitting into opening in front of new master cylinder. Using the proper open-end wrenches, tighten both to proper torque specs.
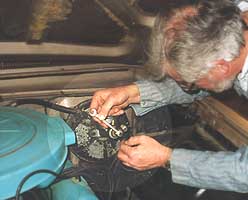
8 – Insert 3/8-inch flare nut on end of hydraulic line into the front of the brass fitting on the front of the master cylinder. Carefully tighten the 3/8-inch flare nut to proper torque specification.
9 – Re-attach the two electrical wires to the stoplight switch threaded into the left-hand side of the brass fitting. These wires thread through a retaining clip bolted to the vacuum booster.
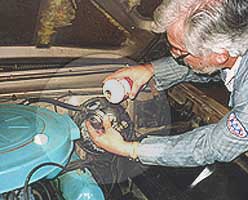
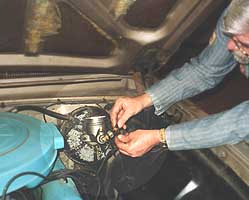
10 – Remove the screw-off cap on the new master cylinder and fill it with clean, name-brand, high quality brake fluid to level reommended in shop manual. Replace screw-off cap.
11 – A bleeder valve was added to the ’62 Mercury master cylinder (which is why the one-year-only part is hard to find). Bleeding here gets you enough hydraulic pressure to safely move car.
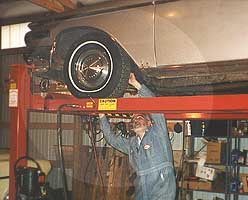
12- Last step is bleeding the hudraulic system at each wheel. Having a “Backyard Buddy” to lift the car up and a friend to pump the pedal are big pluses. Crack each bleeder to let air escape.